How Long Does the Pudding Stay in the Oven? Discover the Ideal Time and Tips for a Perfect Pudding


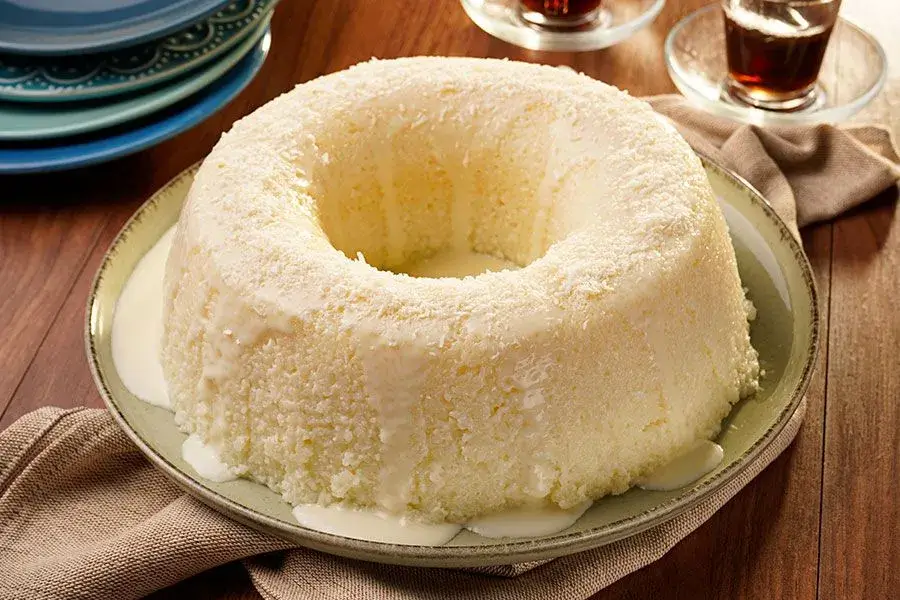
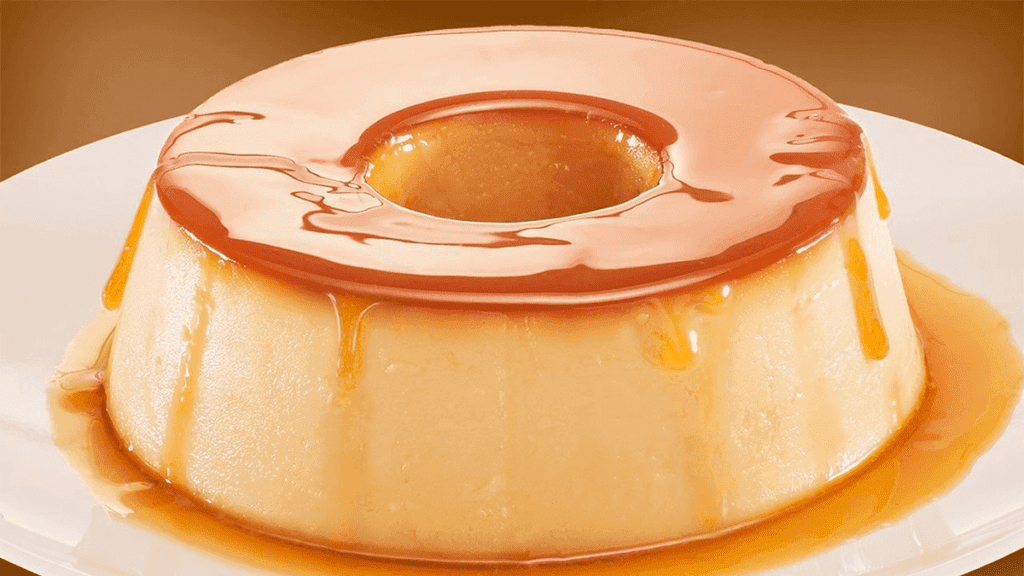
Who can resist a creamy flan, with that glossy caramel topping and unparalleled flavor? This classic dessert is one of Brazilians’ favorites, but the question always arises: how long should the flan stay in the oven? Getting the cooking time right is essential to ensure the perfect texture and irresistible taste of this delight. In this article, you’ll learn how to calculate the ideal oven time for different flan sizes, along with valuable tips for baking, unmolding, and even “saving” a flan that didn’t set. Get ready to become a flan expert and impress everyone with this divine dessert!
Unraveling the Mystery: How Long Should the Flan Stay in the Oven?
There is no single answer to this question, as the cooking time for flan varies according to several factors, such as the size of the mold, the oven’s power, and even the recipe used. However, we can provide an average and tips to help you adjust the time according to your needs.
In general, a medium-sized flan (about 20 to 22 cm in diameter) takes between 1 hour and 1 hour and 30 minutes to bake in a preheated oven at 180°C. But to make your life easier, here is a table with estimated times according to the flan size:
- Small Flan (up to 15 cm in diameter): From 40 to 50 minutes.
- Medium Flan (20 to 22 cm in diameter): From 1 hour to 1 hour and 15 minutes.
- Large Flan (over 25 cm in diameter): From 1 hour and 20 minutes to 1 hour and 30 minutes.
Remember: these times are only estimates. Ideally, always perform the toothpick test, which we will explain in detail later, to check the flan’s doneness.
Water Bath and Preheating: Secrets for a Perfect Flan
Two crucial points for your flan’s success are the water bath and preheating the oven. Here’s why they are so important:
- Water Bath: Baking the flan in a water bath is essential to ensure slow and even cooking. The water around the mold creates a moist and temperature-controlled environment, preventing the flan from baking too fast and becoming rubbery or cracked on top. To make the water bath, place the flan mold inside a larger baking pan and add hot water until it reaches halfway up the sides of the flan mold.
- Oven Preheating: Preheating the oven to 180°C for about 10 to 15 minutes before placing the flan ensures the internal temperature is stabilized, providing more precise and even cooking.
The Toothpick Test and Other Signs That the Flan Is Ready
Besides the estimated time, there are some signs indicating when the flan is ready. The best-known is the toothpick test: insert a toothpick or a thin knife into the center of the flan. If it comes out clean, without liquid batter, the flan is baked. Other visual signs also help:
- Firm Edges: The edges of the flan should be firm and slightly golden, while the center can be a little softer but not liquid.
- Consistent Center: When gently pressing the center of the flan with the back of a spoon, it should offer slight resistance and not be too soft.
Important Tip: Even if it seems a bit soft when coming out of the oven, remember that the flan continues cooking from residual heat and finishes setting as it cools.
Cooling and Unmolding: Patience Is the Key to Success
After baking, the flan needs time to cool and fully set before being unmolded. Follow these steps for perfect unmolding:
- Cool at Room Temperature: Remove the flan from the oven and let it cool at room temperature for at least 1 hour. This allows it to finish settling and firm up before going into the refrigerator.
- Refrigerator: After cooling at room temperature, place the flan in the refrigerator for a minimum of 4 hours, ideally overnight. Complete cooling is essential for unmolding the flan without breaking it.
- Unmolding: To unmold, run a thin, non-serrated knife around the edges of the mold, between the flan and the mold. Place a serving plate over the mold and carefully invert it. Give gentle taps on the bottom of the mold to help the flan release. If necessary, you can slightly warm the bottom of the mold in a warm water bath or use a culinary torch for a few seconds to loosen the caramel, then unmold—remember, only for a few seconds.
What If the Flan Doesn’t Set? There Is Still Hope!
If, even after the oven time and cooling, your flan is still soft, don’t despair! There are some possible causes and solutions:
- Insufficient Oven Time: If the flan is too soft, it may need more time in the oven. Return it to the oven in a water bath for another 10 to 15 minutes and do the toothpick test again.
- Lack of Water in the Water Bath: Check if the water in the water bath has completely evaporated. If necessary, add more hot water, taking care not to splash the mold.
- Incorrect Ingredient Proportions: An unbalanced recipe, with too much liquid or too few eggs, can result in a flan that doesn’t set. Be sure to follow the proportions indicated in the recipe. As a general rule, for each egg, use 200ml of milk, so if you use 5 eggs, for example, you will need 1L of milk; this proportion ensures firmer flan.
- Oven Temperature Too Low: If the oven temperature is too low, the flan may not cook properly. Check if the oven temperature is correct, and if needed, increase it slightly.
Recommended Products for a Successful Flan
- Philco PLQ2100PI 12 + Turbo 3L 1200W Blender: Powerful and efficient for mixing the flan batter, ensuring a homogeneous blend. Get yours! – Speed and convenience in the kitchen!
- 9-Piece Teflon Cookware Set with Glass Lids, Nonstick: A large pan from this set can be used for the water bath and the flan’s caramel sauce. Check this option! – Versatility for your recipes!
- Mondial Practical B44R Stand Mixer: Useful for beating flan ingredients, especially if the recipe calls for egg whites beaten to stiff peaks. See it here! – More ease in preparation!
Conclusion
Now you know how long the flan should bake in the oven and have all the tips to prepare this classic dessert perfectly! Remember that baking time is an estimate and can vary depending on the flan size, your oven’s power, and the recipe used. The toothpick test and observing visual signs are your best allies for determining the right doneness. With patience, attention to detail, and the tips we shared, you will become a master in making delicious flans with the ideal texture. Explore our blog for more recipes and cooking tips!
Image Source: blog.praticabr