Oven-Baked Picanha with Coarse Salt: Easy Recipe
Cast Picanha: How to Prepare in the Oven with Coarse Salt
If you haven’t tried the cast picanha yet, it’s time to embark on this method that combines convenience and incredible flavor. Although it seems like a professional grill master’s technique, this recipe is simple and perfect for anyone who wants a juicy dish free of complications.
The big advantage? You can roast the picanha in the oven, without smoke, mess, and still achieve a proud-worthy result.
Complete Recipe for Cast Picanha in the Oven
Essential ingredients for your cast picanha:
- 1 piece of picanha between 1.2 kg and 1.5 kg
- 1 kg of coarse salt
- Aluminum foil enough to wrap the meat
- Dried herbs and black pepper to taste (optional)
Preparation method:
- Preheat the oven to 220 °C while preparing the picanha.
- Thoroughly dry the picanha piece with paper towels, keeping the fat cap intact.
- Line a baking tray with aluminum foil, shiny side down, and spread a generous layer of coarse salt over the entire base.
- Place the picanha on the salt, fat side up, and cover entirely with more coarse salt.
- Firmly wrap the meat with aluminum foil, forming a “bed” of salt around the piece.
- Put it in the oven and roast for about 1h10 for a 1.3 kg piece at medium doneness. Increase the time by 10 minutes for larger pieces or decrease to 50 minutes if you prefer rare.
- After roasting, gently break the salt crust with a knife or spoon, being careful not to burn yourself with the steam.
- Let the picanha rest for 10 minutes before slicing, so the juices redistribute and the meat becomes more tender.
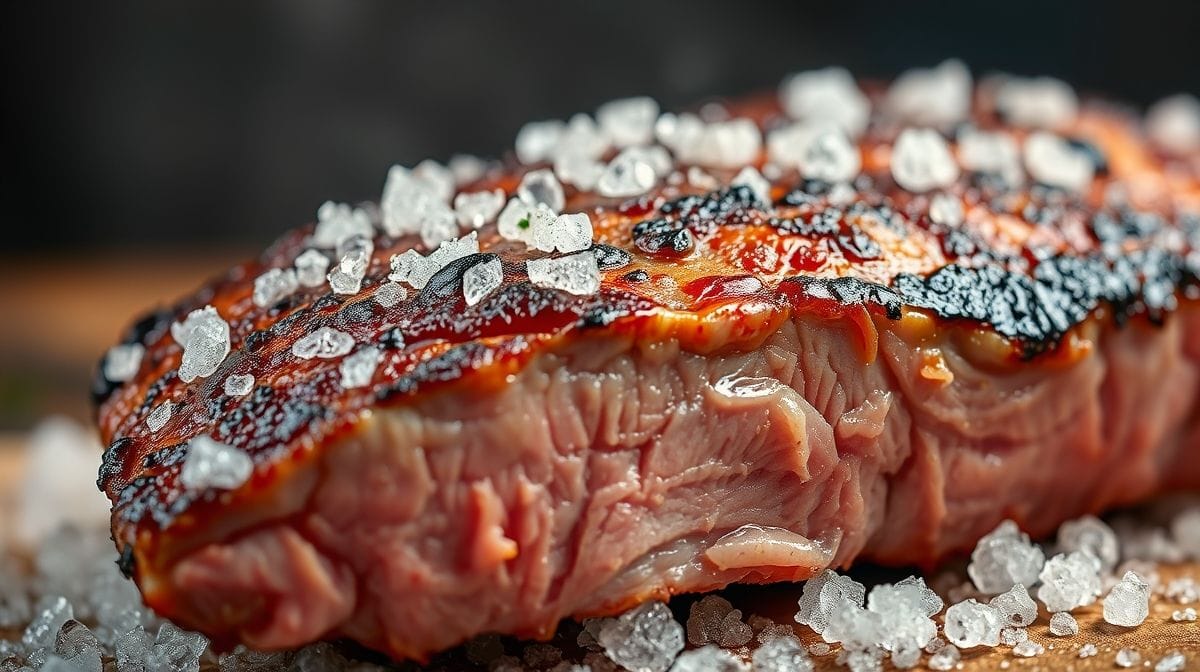
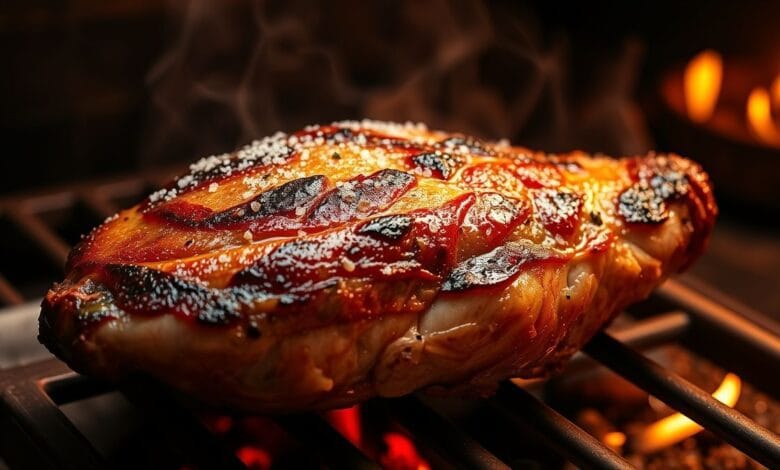
The secret of this method lies in the salt crust that “casts” the meat, protecting it while it roasts. The coarse salt creates a barrier that prevents loss of internal moisture, ensuring a juicy picanha with a slight sear on the outside.
Unlike fine salt, coarse salt does not penetrate deeply into the meat, preventing it from becoming too salty. Additionally, the crust distributes heat evenly during cooking, which avoids inconsistent spots and makes controlling the ideal doneness easier.
Therefore, do not skimp on the salt: it is the protagonist in preserving the texture and flavor of the picanha.
[h2]Usar papel alumínio na picanha engessada: sim ou não?[/h2]The use of aluminum foil can vary depending on your goal in the recipe:
- With aluminum foil: recommended for beginners or those who want to ensure more juiciness. It keeps the heat stable, prevents the salt crust from breaking too early, and creates a moist environment for the meat.
- Without aluminum foil: if you want a crunchier, drier crust similar to traditional barbecue, you can opt to roast without foil. However, be aware there is a higher risk the meat will dry out and require constant monitoring.
Regardless of your choice, always roast the picanha fat side up. This melted fat will baste the meat during cooking, enhancing flavor and tenderness.
[h2]Tempo ideal para assar picanha engessada no fornoAlthough time may vary depending on your oven, here are the parameters that work for pieces between 1.2 kg and 1.5 kg:
- Rare: 50 to 55 minutes
- Medium: 1h10 to 1h20
- Well done: up to 1h30 (but be careful, as it tends to lose juiciness)
For greater accuracy, use a cooking thermometer: when the internal temperature reaches 58 °C, your picanha will be at the ideal doneness, pink and tender, ready to impress.
You might also be interested in reading:
Conclusion
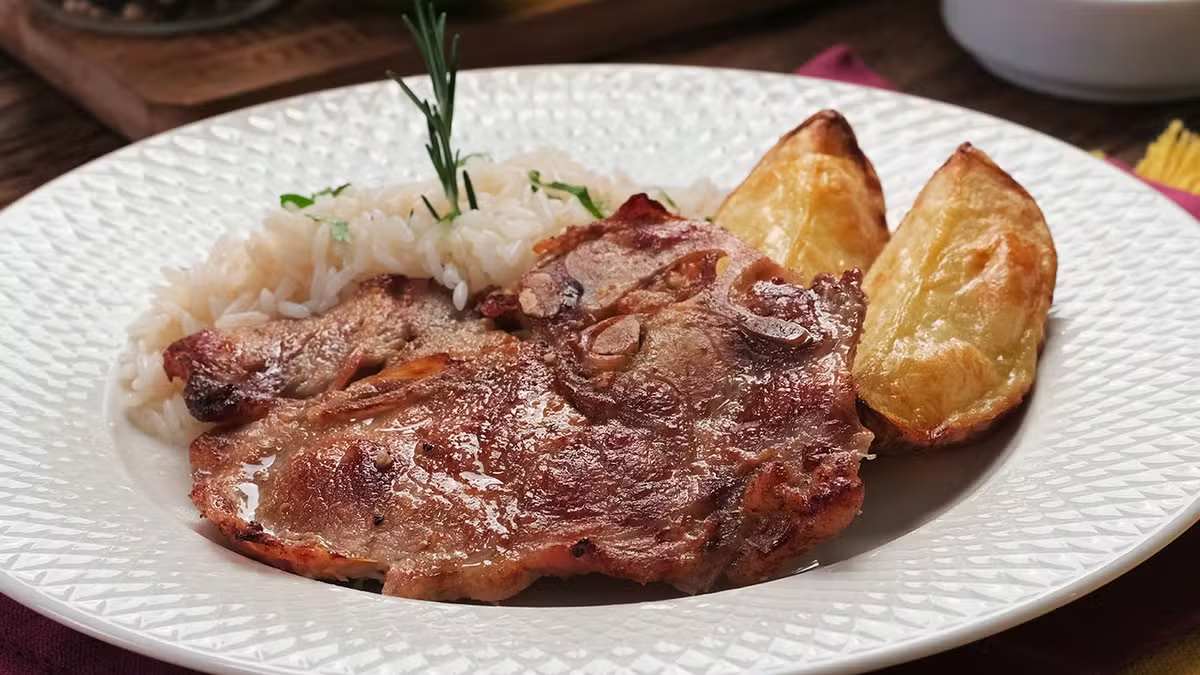
Preparing cast picanha in the oven is a simple, practical technique capable of surprising with its flavor and juicy texture. It’s a great option for those who want to innovate their Sunday lunch or special occasions, even without advanced experience.
Just follow the steps, respect the times, and trust the salt crust to deliver a mouthwatering result. Try this method and earn guaranteed praise!
Until the next recipe!